ENEnglish
 LTLietuviškai
 DEDeutsch
 FRFrançais
 RUРусский
 ESEspañol
 PLPolski
 ITItaliano
 UKУкраїнська
 CSČeština
 PTPortuguês
 JA日本語
JA日本語 LVLatviešu valoda
 ETEesti
 HUMagyar
 IDBahasa Indonesia
 TRTürkçe
 HIहिन्दी
 ELΕλληνικά
 ARالعربية
 THไทย
THไทย VITiếng Việt
 RORomână
 MSBahasa Melayu
 BNবাংলা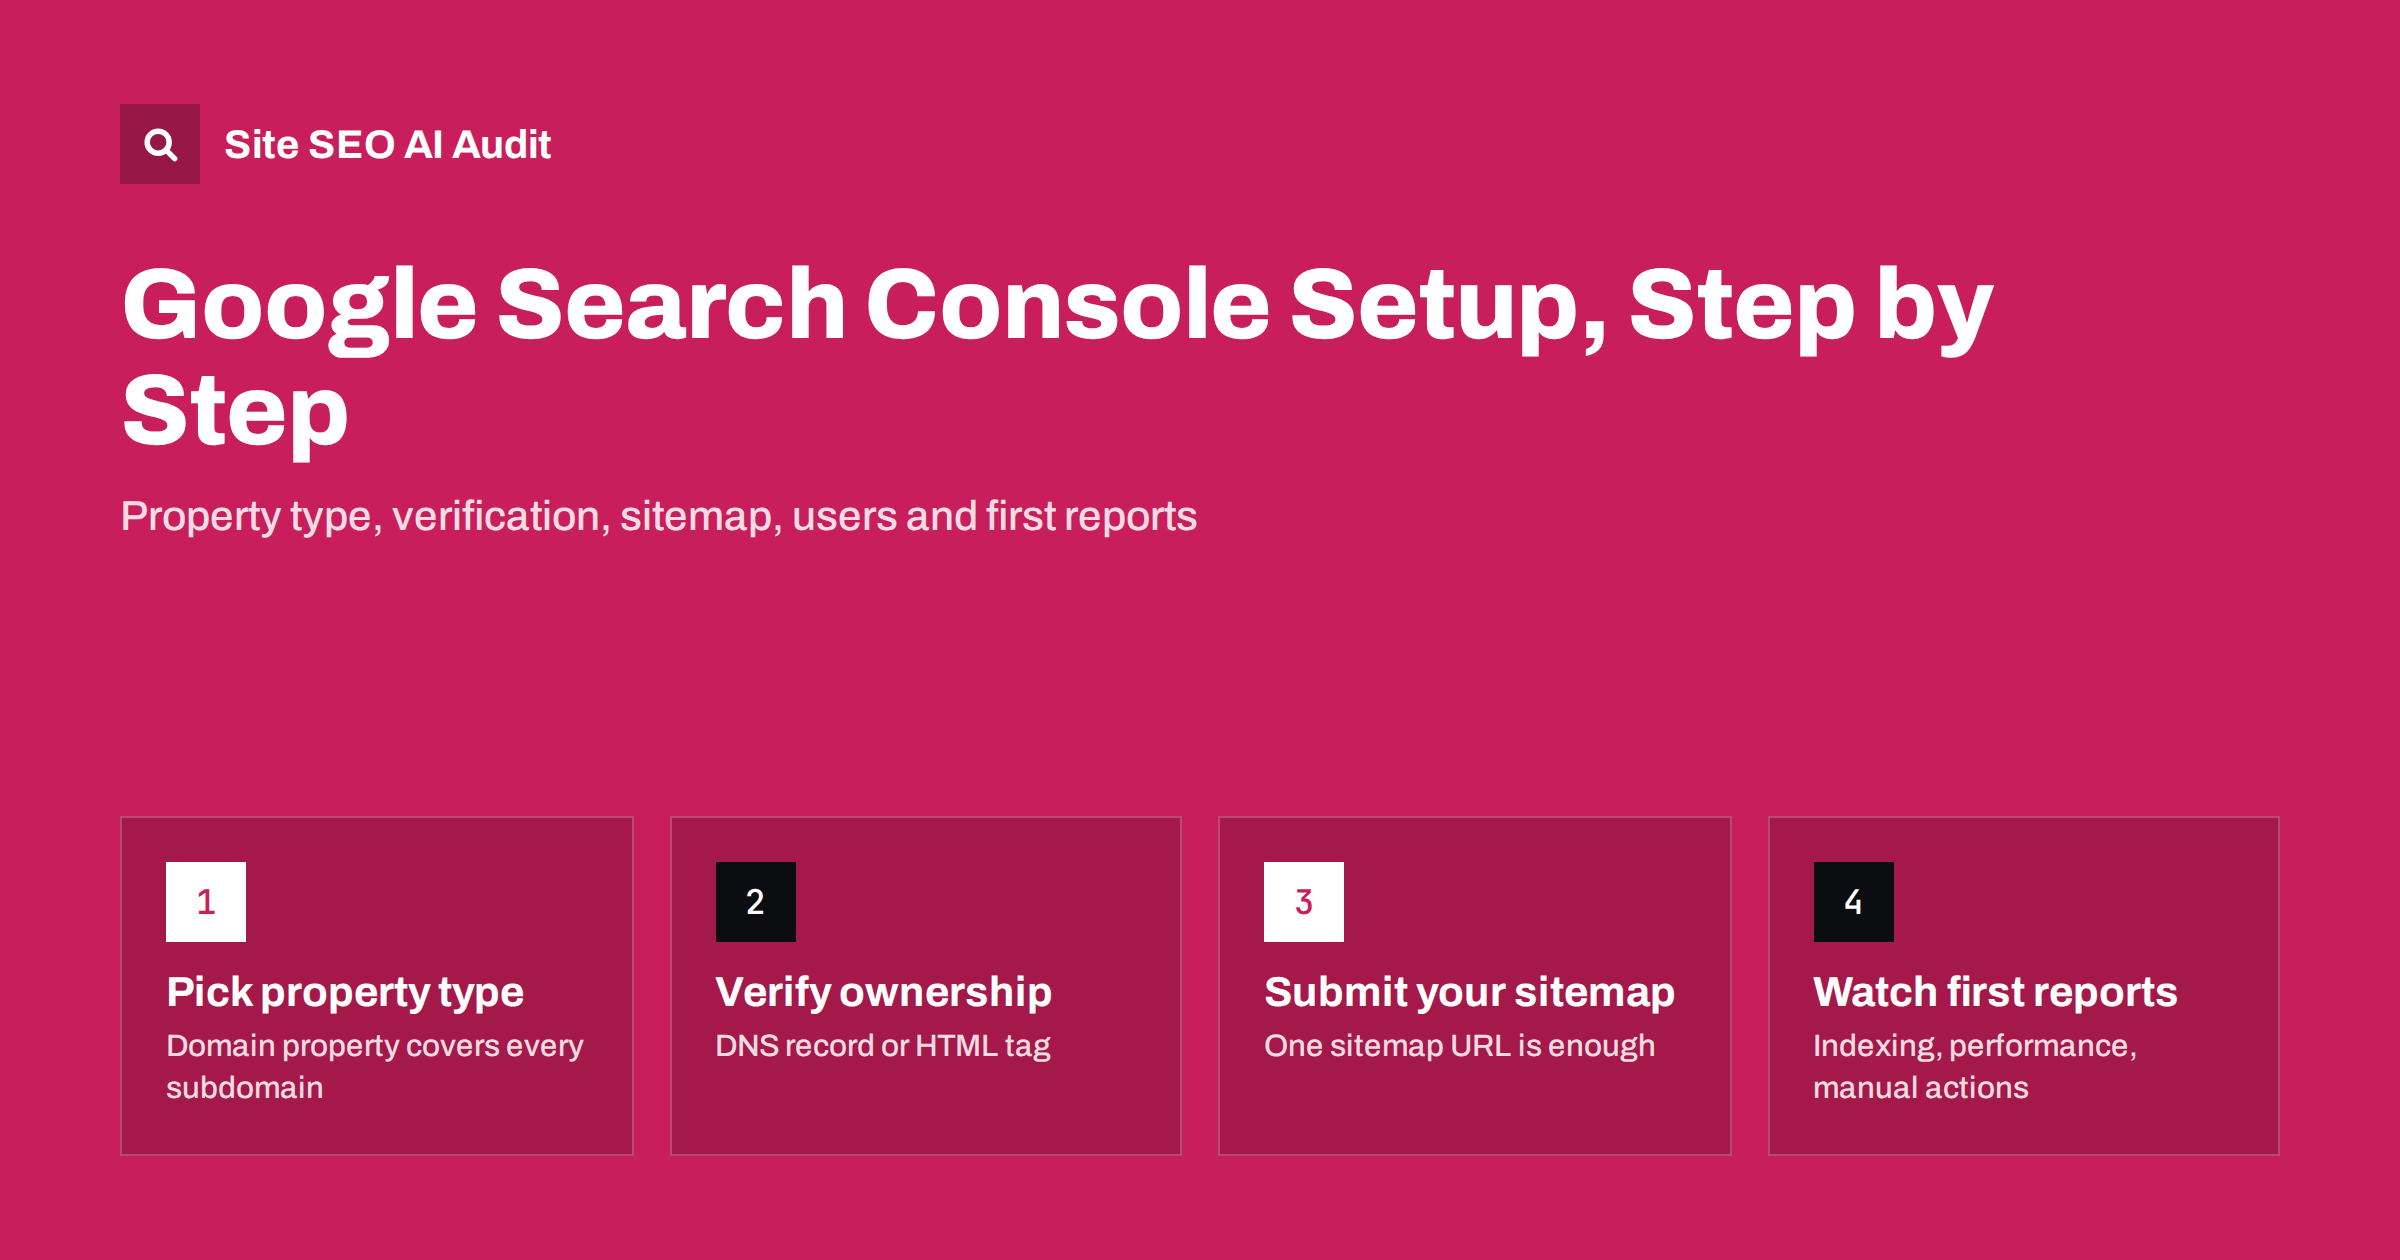
Short answer: Set up Google Search Console by adding a Domain property for your whole domain, verifying it with a DNS TXT record, and submitting your XML sitemap. Then add the people who need access with the lowest permission they need, and check the Page indexing, Performance and Manual actions reports once data starts to arrive, usually within a few days.
Search Console is the only place where Google tells you, in its own words, how it crawls, indexes and shows your site. It is free, it takes about fifteen minutes to set up, and yet many small sites either never add it or add it in a way that hides half of their data. This guide walks through a clean setup and the first things worth looking at.
Why every site needs Search Console
Analytics tools tell you what visitors do after they arrive. Search Console tells you what happens before that: which queries showed your pages, how often people clicked, which URLs Google decided not to index and why. Without it you are guessing.
- Indexing problems: pages excluded by noindex, canonical choices, redirects, soft 404s or server errors.
- Search performance: clicks, impressions, average position and click-through rate per query, page, country and device.
- Warnings you cannot get elsewhere: manual actions, security issues such as hacked content, and structured data errors.
- Tools: URL inspection, sitemap submission, temporary removals and the change of address tool for domain moves.
None of this changes your rankings by itself. It simply lets you see problems early, while they are still cheap to fix.
Domain property or URL-prefix property?
The first decision is the property type, and it matters more than it looks. Search Console offers two kinds.
| Domain property | URL-prefix property | |
|---|---|---|
| What it covers | All protocols and subdomains: http, https, www, non-www, blog., shop. and so on | Only URLs that start with the exact prefix, for example https://www.example.com/ |
| Verification | DNS record only | HTML file, HTML meta tag, analytics or tag manager code, or DNS |
| Best for | The main, complete view of a site | Extra views of one section or language folder |
For almost every site the answer is: create a Domain property first. It catches data from versions of your site you may have forgotten, such as an old http address that still gets traffic or a subdomain someone set up years ago. If your site is on several hosts, this is also where you notice that, for example, both www and non-www versions are being indexed, a problem covered in our guide to www and trailing slash consistency.
URL-prefix properties are still useful as additional views. A multilingual site can add one per language folder, such as https://example.com/de/, to filter reports and to give a translator or regional manager access only to their section.
Step 1: Add the property and verify ownership
Sign in with a Google account that the business controls, not a personal account of a freelancer who may leave. Then:
- Open Search Console and choose Add property.
- Pick Domain and enter the bare domain, for example example.com, without https:// or www.
- Copy the TXT record that Search Console shows you.
- Log in to the place where your DNS is managed. This is often your domain registrar, your hosting panel or a DNS provider such as a CDN. Add a new TXT record for the root of the domain with the copied value.
- Return to Search Console and press Verify. DNS changes can take from a few minutes to several hours to spread; if verification fails, wait and try again rather than adding the record twice.
Leave the TXT record in place permanently. Search Console checks verification from time to time, and removing the record can silently remove your access later.
If you cannot edit DNS, use a URL-prefix property for the exact version of your site (usually https with or without www) and verify with the HTML meta tag. On WordPress, most SEO plugins have a field for this tag, so you do not need to edit theme files.
Step 2: Submit your XML sitemap
Search engines can find pages through links alone, but a sitemap helps Google discover new and updated URLs faster and gives you a useful reference list for indexing reports.
- Find your sitemap address. On WordPress it is often /sitemap.xml, /sitemap_index.xml or /wp-sitemap.xml, depending on the plugin. Your robots.txt file may also list it.
- Open the Sitemaps report and enter the address.
- Check that the status becomes Success and that the number of discovered URLs looks sensible.
If you have a sitemap index that lists several sitemaps, submitting the index is enough. If the status shows an error, our article on sitemap errors in Search Console explains each message. For what belongs in the file in the first place, see the XML sitemap best practices.
Step 3: Add users with the right permissions
Search Console has three levels of access, and giving everyone the highest level is a common mistake.
- Owner: full control, including adding and removing users and using tools such as change of address. Verified owners proved ownership themselves; delegated owners were added by a verified owner.
- Full user: can see all data and take some actions, such as submitting sitemaps or requesting indexing, but cannot manage users.
- Restricted user: can view most data but cannot change anything.
A practical rule: the business owns the property through a company account, the developer or agency gets full user access, and anyone who only reads reports gets restricted access. When a contractor leaves, remove their access the same day. Review the user list once or twice a year; stale owners are a security risk, because an owner can, for example, request removals of your URLs from Google results.
Step 4: Turn on the useful settings
A few settings are worth checking right after setup:
- Email notifications: make sure at least one person who actually reads email receives them. Search Console sends messages about new indexing issues, manual actions and security problems.
- Associations: you can link the property with Google Analytics so that search data is visible there as well.
- Crawl stats: found under Settings. It shows how often Googlebot requests your pages and how fast your server answers. Our crawl stats report guide explains how to read it.
It is also a good moment to add your site to Bing Webmaster Tools, which can import properties directly from Search Console. Bing data matters more than many site owners expect, as explained in Bing indexing and AI search.
Which reports to look at first
A new property usually shows little or no data for the first few days. After that, start with these reports, in this order.
Page indexing
This report lists how many of your known URLs are indexed and groups the rest by reason. Not every excluded URL is a problem: redirects, alternate pages with a proper canonical and deliberate noindex pages are normal. What deserves attention are important pages listed under reasons such as Crawled – currently not indexed, Discovered – currently not indexed, Soft 404 or Server error. Each status is explained in our guide to the Page indexing report.
Performance
The Performance report shows clicks, impressions, average position and click-through rate. Data is kept for 16 months, so the sooner you set up the property, the sooner you have a year-on-year comparison. Useful first views:
- Queries with many impressions but a low click-through rate, often a sign that the title or description does not match what people want.
- Pages sorted by clicks, to see what actually brings visitors.
- Countries and devices, to check that the audience is the one you expect.
Manual actions and Security issues
These two reports should say that no issues were detected. If they do not, fixing them comes before everything else, because they can remove pages or the whole site from results.
Core Web Vitals and HTTPS
The Core Web Vitals report uses field data from real Chrome users, so small sites may see “not enough data” for a while. The HTTPS report shows URLs that are still served over plain http. If you need background on the metrics themselves, see Core Web Vitals explained.
URL inspection: your daily tool
Paste any URL from your property into the search bar at the top to see whether it is indexed, which canonical Google chose, when it was last crawled and whether the page could be fetched. The Test live URL button shows how Googlebot sees the page right now, which is useful after a fix. You can also request indexing for an important new or updated page, though this is a request, not a guarantee, and there is a daily limit. For a full walk-through, read our URL inspection tool guide.
Common setup mistakes
- Only one URL-prefix property for the wrong version, for example http://example.com while the site runs on https://www.example.com. The reports look empty and people conclude the site has no traffic.
- Verification through a personal account that belongs to someone who later leaves the company.
- Deleting the verification record or tag during a redesign or a plugin change, which removes access weeks later.
- Submitting the wrong sitemap, such as a staging site sitemap or an old plugin’s file that lists deleted URLs.
- Treating every excluded URL as an error and “fixing” redirects or canonicals that are working as intended.
- Setting it up and never looking again. A short monthly check catches most problems before they cost traffic.
Search Console and a site audit work together
Search Console reports what Google has already seen, often with a delay, and it shows samples rather than every affected page. A crawler-based audit works the other way round: it reads your pages now and lists issues before Google reports them. Site SEO AI Audit crawls your site like a search engine, scores it across seven areas, from crawl and index to AI visibility, and ranks fixes by how many points each one adds, with step-by-step instructions for WordPress sites. The first audit of a website is free; you can run one from the home page and compare its findings with what Search Console shows.
Related reading
- Search Console Page Indexing Report: Every Status Explained
- URL inspection tool guide
- Sitemap Errors in Search Console: What They Mean and Fixes
- Crawl Stats Report in Search Console: How to Read It
The bottom line
Add a Domain property, verify it with a DNS TXT record and leave that record in place. Submit one sitemap, give each person the lowest access level they need, and make sure someone reads the email alerts. Then spend ten minutes a month on Page indexing, Performance and Manual actions. That small habit catches most technical SEO problems while they are still easy to fix.
FAQ
How long does it take for data to appear in Search Console?
Verification itself is instant once the DNS record or tag is in place. Report data usually starts to appear within a few days, and some reports, such as Core Web Vitals, need enough real-user traffic before they show anything.
Should I use a Domain property or a URL-prefix property?
Use a Domain property as your main view, because it covers every protocol and subdomain. Add URL-prefix properties only when you want a separate view of one section, such as a language folder, or when you cannot edit DNS.
Does adding my site to Search Console improve rankings?
No. Search Console is a reporting and diagnostic tool and does not change how Google ranks your pages. It helps you find and fix problems that may be holding pages back.
Do I need to resubmit my sitemap after every new post?
No. Once a sitemap is submitted, Google fetches it again on its own schedule. Keep the sitemap updated automatically, which most CMS plugins do, and resubmit only if its address changes.
What happens if I remove the verification record?
Search Console rechecks verification from time to time. If the record or tag is gone, you can lose access to the property, so keep it in place for as long as you use Search Console.